Take Your House Back
I hope everybody’s having a great summer! For the July tips, I decided to write about something relatable to just about everyone. I don’t know about you, but I feel like some rooms could be turned into a huge dumping ground. This month’s tips are going to be geared towards taking your house back. Sounds easy right? In my 20 years of organizing, I have seen just about everything. Ha! I find that everybody, no matter what size the home you have, has that one room that you like to dump everything in. From things to donate, things to fix, “oh I need to give this to X person” items, and then never really get around to it. For July I’m going to challenge you to take the space back once and for all, by following the steps below for any room or closet you have that I described! 😄
Step 1 – Review the room. What do you see? Do you see lots of projects? Donate items? Things to fix? These are common questions we ask our clients when we are examining rooms like this for the first time. It can be overwhelming at first, but once you ask yourself the proper questions, it’ll be a breeze!
Step 2 – When getting started with the organizing process, always move left to right so you don’t get off track or overwhelmed. If you find yourself getting distracted, just think about it – “oh, yes, left to right!”.
Step 3 – Get a clipboard out or a notepad so you can make a note of the things that you are identifying to create a task item or a to do list.
Step 4 – Place a sticky note on each item or project. Donate, Fix, Trash and/or Donate. By identifying these items, you can create a fast and easy way to declutter your dumping room.
Step 5 – Remove the easiest things FIRST – this gives you small successes QUICK! Everyone needs that little pat on the back when they have quick successes.
Step 6 – Discard the larger items next. By removing the larger items, you begin to think, “this wasn’t as bad as I thought”. You just needed to see more of the space to get it cleared out. Now you can reimagine what you want for the space.
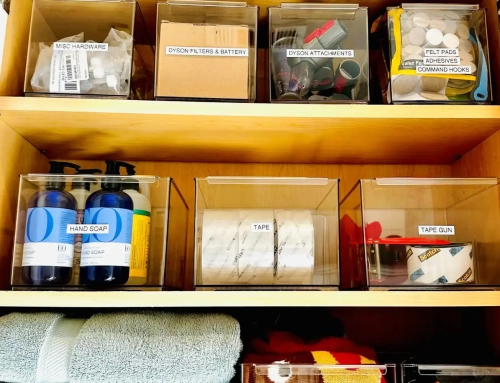
Step 7 – Rename the room. It’s NOT called the Dumping Room, it’s called the Project Room!
Step 8 – Create a master to-do list from the projects that you have identified from this new room. You can also use this helpful task sheet to help you get started and get things done. Download our list here.
Take a before & after picture and show us how you did! Tell us what you will do with your new “project room”!
Request a Consultation
There are so many ways that organization can help take back a space that is overwhelming and bring it to functional! We are excited to help start your journey to an organized and productive space.


