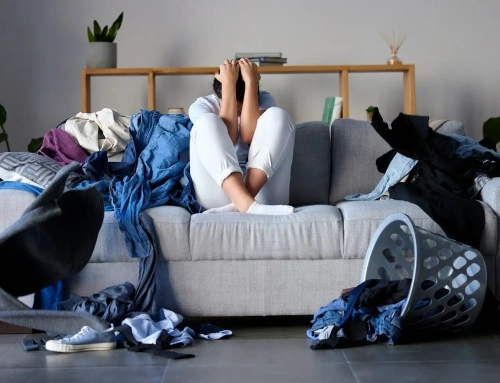
Spring cleaning…ahh, those two dreaded words. Nothing can bring you down from your seasonal high than realizing you’re about to spend a full weekend diving deep into the world of cleaners, dust bunnies, and product purging. JOY! We all know spring cleaning is a must – so how do we make it fun, or at least pleasant? And where oh where to start? Let’s tackle this together.
Make Spring Cleaning Fun
Create a killer playlist on Spotify to set the mood. You’ll want something upbeat that makes you dance around the house. Shania Twain and older country songs always get me in the mood to groove – who are your go-to musicians or genres? After you have the music playing, think about how you can involve the kids. If you’re asking them to help out in any way, make it into a game. Each person who clears unworn or old items from their closet gets $5 to spend on ice cream tonight. First one to finish dusting their room gets to choose what’s for dinner! Incentives aren’t just for the office – they go a long way in any situation.
Master Bathroom
I’ve shared plenty on how to clean your office, kitchen, refrigerator, and more. If you want to refer to any of my tips for those areas, just search my blog posts here. Today I thought I’d focus on an area we haven’t touched too much on: the master bathroom. I think we can all admit to having far more beauty and health products hiding behind those cabinet doors than we care to admit!
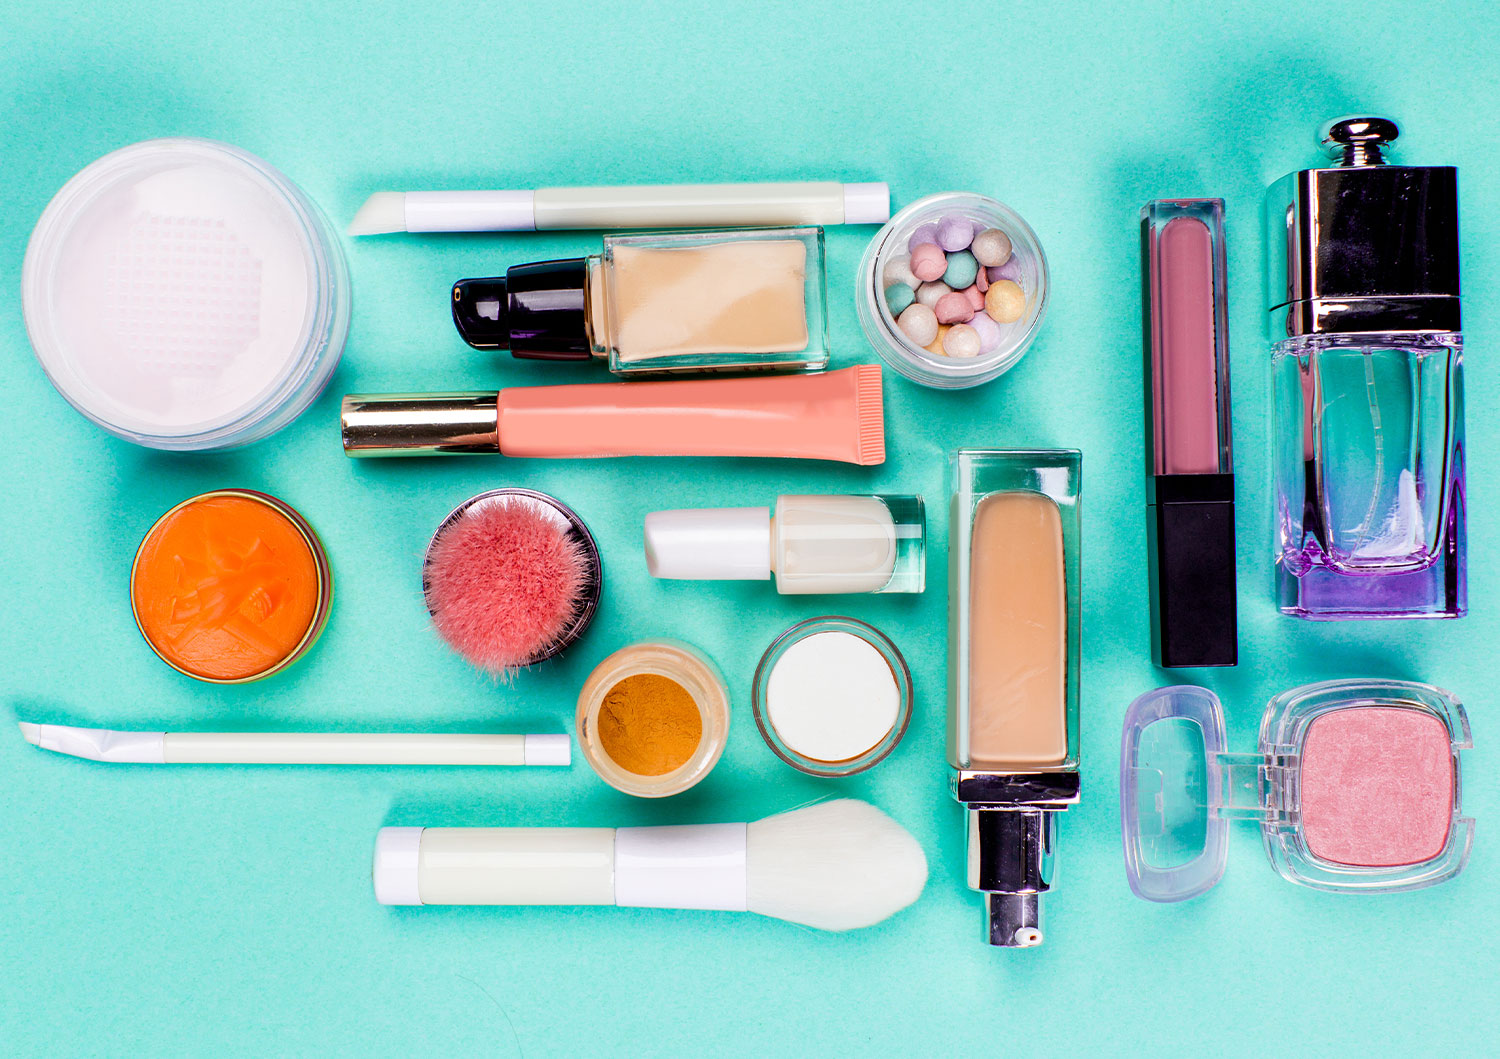
Start by creating “keep” and “discard” piles. Did you know that all makeup and beauty products have an expiration date? Look for the small jar symbol on the back, usually near the ingredients or directions. The jar will have a number on it which stands for the number of months this product is good for after opening. Toss any expired products, prescriptions, or anything that is just flat-out not doing its job anymore. Did you know that sunscreen also has a life span? Toss those old bottles as well.
Tip: if you don’t see the expiration date (typically one year after purchase) clearly on your sunscreen, write it straight on the bottle in sharpie so there’s no mistaking when it needs to be replaced.
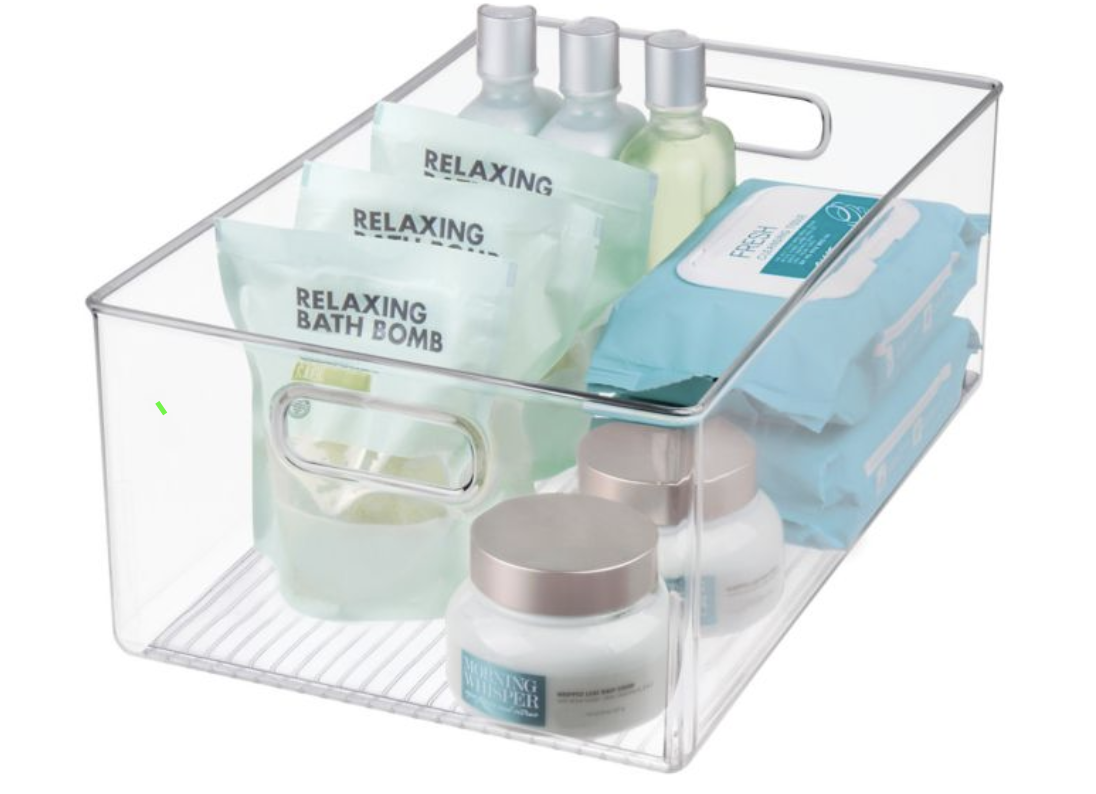
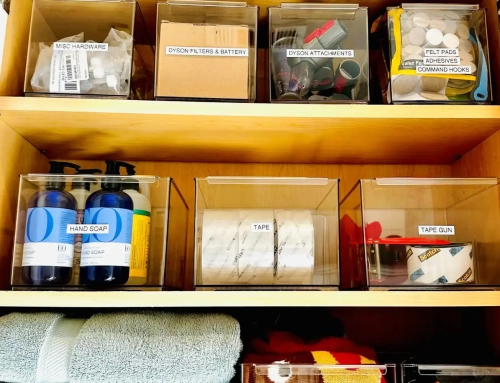
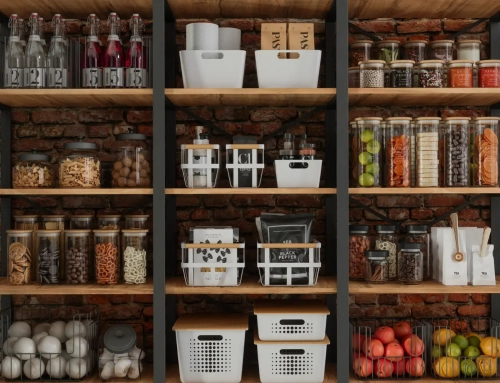
Once you have your “keep” pile, start organizing products by placing them in clear bins. You’ve heard me say it before and I’ll say it again – clear bins allow you much better visibility to all of your items. How many times have you purchased toothpaste or lotion because you thought you were out, only to find it buried in the back of your drawer months later? Yep, I’ve been there too. Invest in clear bins to avoid the mistake of over-purchasing, which in turn limits clutter. Win-win!
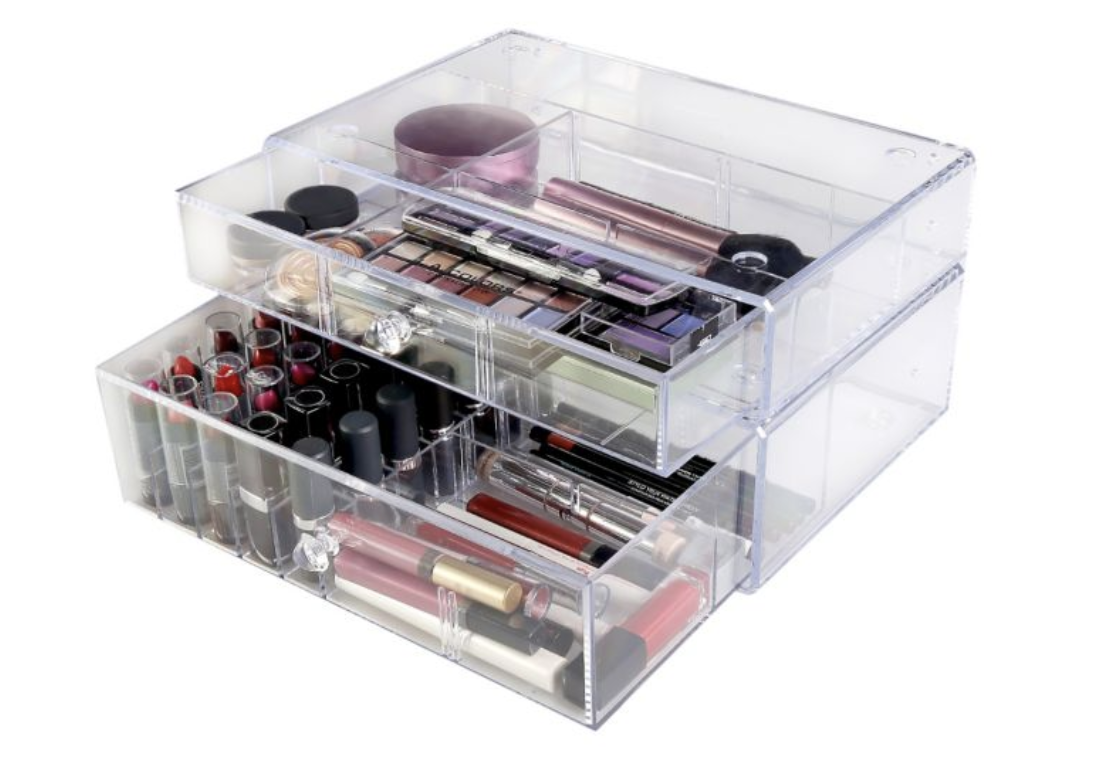
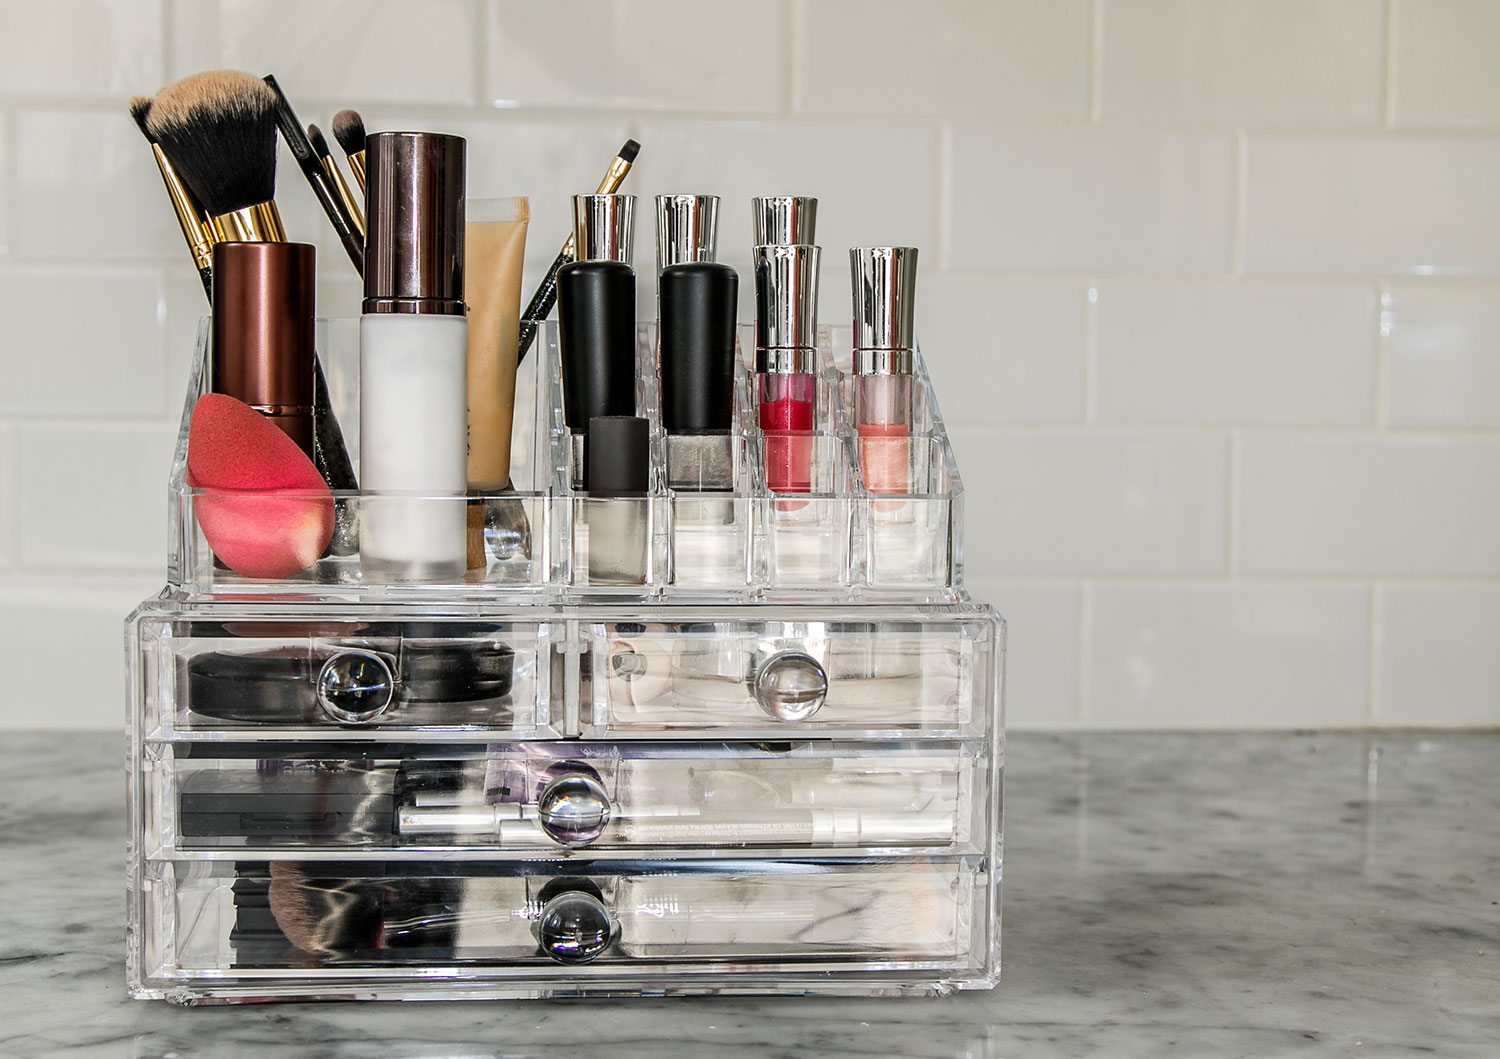
For us ladies that like a little glam every now and then, consider storing your makeup and brushes in a glam box or cosmetic organizer away from the damp conditions of your bathroom. Spring cleaning is as good a time as any to reposition where your items belong. Keeping your products away from moisture and heat, and in a concealed container, will extend their shelf life. For organizational purposes, I like to keep my products together in categories, i.e. brushes, lips, cheeks, face/foundation, eyes, etc. Feel free to divvy up your drawers in a way that makes most sense to you. If you have a lot of products, consider labeling each bin or drawer to keep your goods even more organized (and your morning routine smooth).
These tips are sure to get you motivated to take on your master bath! I’m confident you’ll be feeling clean and organized in no time (you’d be surprised how much actually ends up in the trash!) Do you have other spring cleaning tips or tricks? Share them with us in the comments below. As always, feel free to reach out to the SortedOut team with questions or if you need expert assistance tackling your spring cleaning projects: info@sortedout.com.
Check out our favorite organizing products here!
