We’ve all been there. You’re entertaining guests for a Friday night happy hour, winding down and enjoying each other’s company at the week’s end. You go to grab your charcuterie board ingredients from the refrigerator only to be surprised by the unpleasant scent off something rotten. Like I said, we’ve all been there. The week is full of charity meetings and afterschool activities, and what’s been left and forgotten in your refrigerator is the last thing on your mind. Throughout this post I’m going to give you tips on how to clean, organize, and stay on top of your refrigerator game!
Step One: Set Time, Remove, & Clean
Pick a day to go through your refrigerator each week. Hold yourself accountable and don’t stray, as this will help avoid the scenario above. I personally prefer Sundays because it allows me time to prepare for the week ahead and make a grocery run before the week’s chaos begins.
If you’re starting from scratch here, I’d recommend unloading everything from your fridge. You’ll be surprised at how many holiday jams from years past are shoved in the back! If you’re pretty good about cleaning out your refrigerator regularly, then take a good, hard look at everything in your fridge. Remove anything that may have expired or will expire before you have a change to use it again, including those items you’re unsure of.
If you’re the all-natural cleaning supplies type or a Clorox wipe loyalist, use your preferred mode of sanitization to wipe down the fridge. Starting off on a clean slate (no pun intended!) will make you feel better immediately, promise. It’s crazy what a spot-free shelf will do to a woman’s soul!
Step Two: Categorize
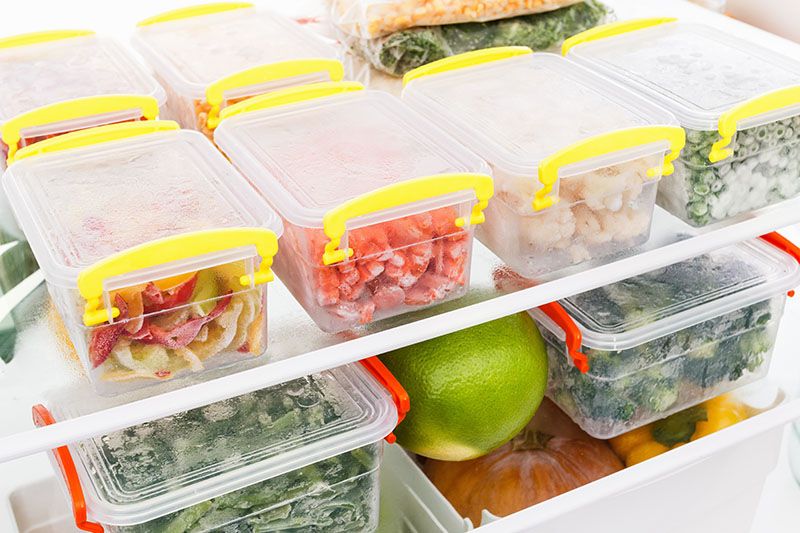
We’re all familiar with the major food groups that are commonly found in everyone’s refrigerator; veggies, fruits, poultry, dairy, etc. This is a great place to start categorizing what you have, but I like to take it a step further. Think about your functionality as a family throughout the week. Are the kids making their own lunches? Do you grocery shop with each meal in mind? If that sounds like you, consider grouping meals together, rather than types of food. I.e. breakfast on top left, lunches on top right, dinners in the middle, drinks & snacks on the bottom. Knowing your family’s meal needs will help you create sections in your fridge.

Step Three: Place & Organize
After deciding on the way you’d like to organize your refrigerator (by food categories or meals), begin placing the items in their designated spot. Make sure all items are seen. If you need to invest in some raised shelves so that the items in the back are visible, do it! It’ll help eliminate the, “Honey, where did you say the butter is?” and, “Mom there’s nothing for breakfast!” My other tip here is to walk your family through each section. If this is a new concept for your family, they need to be introduced to your new process. Make sure everyone knows that all breakfast items can be found on the top, and ingredients for each weeknight dinner have been placed together on the bottom shelf. This will alleviate any confusion. Bonus: it will also allow your husband and kids to get started on the Taco Tuesday recipe if your book club runs a little over – everything’s right there for them to see!
In the end, a clean, organized refrigerator helps establish consistency, stability, and remove chaos from your family’s week. It’s also great for managing those teenager hunger (or as I like to say, hanger) pains ☺. If you’ve found this article to be helpful, let me know in the comments below! Does your family have a different way of organizing? I’d love to hear about it!
Looking forward to hearing from you,
Tonia
Check out some of our favorite organizing products here!


